
Information for Builders, Architects, and Designers.
You will find information in this section that is intended for builders, architects and designers in planning for and utilizing Phantom Screens in their designs and construction projects. To help you, we have specification documents, a sample project timeline, and builder photo galleries.
Home Automation Integration
Phantom Retractable Motorized Screens can be integrated with most home automation systems. We are happy to work alongside you or your contractor to find the best fit for your home.
Email Inquiries
Have a specific question? We’d be happy to help. Fill out the “Get a Quote Now.”
Have drawings or plans you’d like us to look at? Send them to: info@www.minnesotascreens.com
https://youtu.be/avEt5nZhEv0
Builder’s Video
Phantom Screens Builder Video with Danny Lipford
Provided for builders, architects, and designers, Phantom Screens has introduced a video with television personality Danny Lipford sharing with you the benefits of specifying Phantom Screens in to your next project.
Builder Project Timeline
One aspect that we take pride and that our past track record confirms is that we don’t add work to a builder’s already busy schedule. We pride ourselves in providing the best product with top notch service delivered on time and installed correctly. We know that we only look good when the builder looks good. The following is a project timeline for Phantom Executive Motorized Retractable Screens:
Step 1 – Product Agreement and Consultation
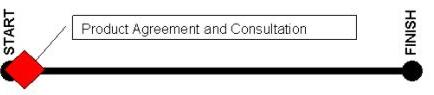 This stage falls at the very beginning of the homebuilding process. The project manager for Phantom Screens will consult with the builder to review what products they want and their locations. The entire process will be explained and samples will be provided. We will also discuss best practices, and answer any questions the builder may have.
Step 2 – Framing Stage
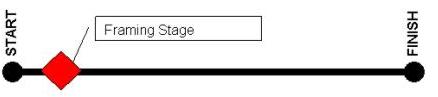 This will entail a job-site visit to meet with the builder (if necessary), job superintendent and framer(s). This meeting will discuss the framing needs for recessed screen cavities, and access requirements for Phantom Executive Motorized Retractable Screens. We will also show where electrical outlets for power are to be placed. The photo below shows an example of the 7″ wide by 10″ tall cavity needed for an arch application:
Step 3 – Recessed track housing installation
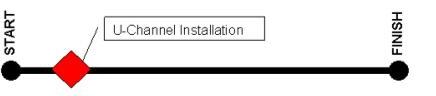
 This task takes several hours depending on the number of screens and the complexity of installation. The purpose of the recessed track housing is to allow for the exterior material to be installed flush to the opening which will provide for the track to be recessed into the post. It is completed during the framing stage when headers/LVLs and load bearing posts are in place. The photo below shows an example of installed recessed track housing.
Step 4 – Final Measurements and Product Ordering
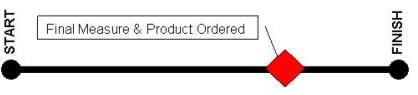 Roughly 9 weeks out from completion of the house, Phantom Screens will obtain final measurements for product ordering purposes. Phantom Executive Motorized Retractable Screens are custom made for each opening to insure precise fit and function.
Step 5 – Installation
 The installation of Phantom Executive Motorized Retractable Screens is normally a 1 day process depending on the number of screens to be installed. This process involves the mounting of brackets, track insertion, hanging of roller, application of the mesh, fitting of slidebar and all the necessary adjustments for proper installation. Below are photos of arch applications with access panels.
Phantom Screens will provide consultations and job-site meetings (as necessary) throughout the building process for the builder.


